Install PlayBuild
Follow these simple steps to install and set up the PlayBuild plugin in Cocos Creator. This guide will walk you through the installation process, from unzipping the file to configuring your project with the plugin.
Step 1: Unzip the Downloaded File
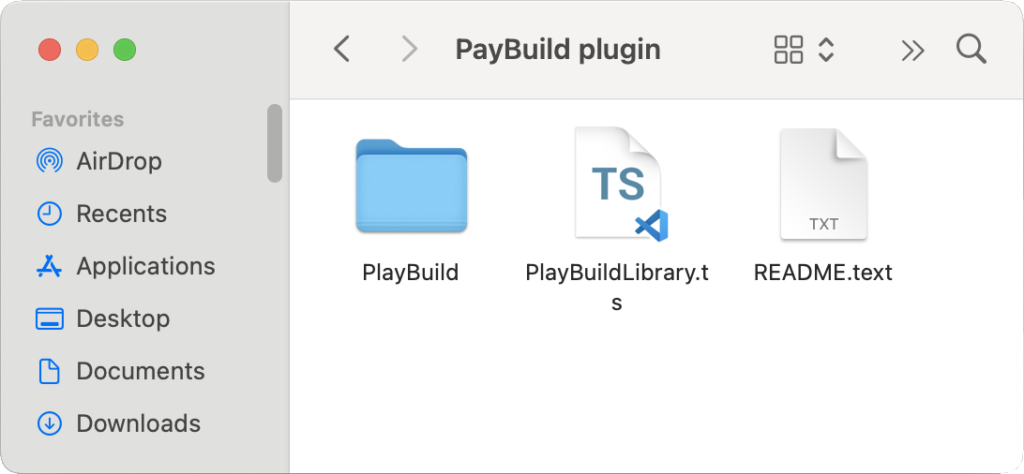
After purchasing and downloading the plugin, the first step is to unzip the file. Inside, you will find all the necessary components required to integrate the plugin into your Cocos Creator project.

Step 2: Move the "PlayBuild" Folder to the Extensions Folder
- Locate the unzipped folder named “PlayBuild”.
- Navigate to your project’s root directory in Cocos Creator.
- Inside the root directory, find the “extensions” folder.
- If the folder does not exist, you can create a new folder called “extensions”.
- Move the “PlayBuild” folder into the “extensions” folder.
Step 3: Move the "PlayBuildLibrary.ts" File
- Inside the unzipped files, you will find a “PlayBuildLibrary.ts” file.
- Select one of the existing folders in your project where you want to store the file, or create a new folder.
- Move the “PlayBuildLibrary.ts” file into that folder. This file contains important library code that the plugin uses.
Step 4: Open the Plugin Panel and Configure URLs
Once the plugin is installed, follow these steps to finalize the setup:
- Open Cocos Creator.
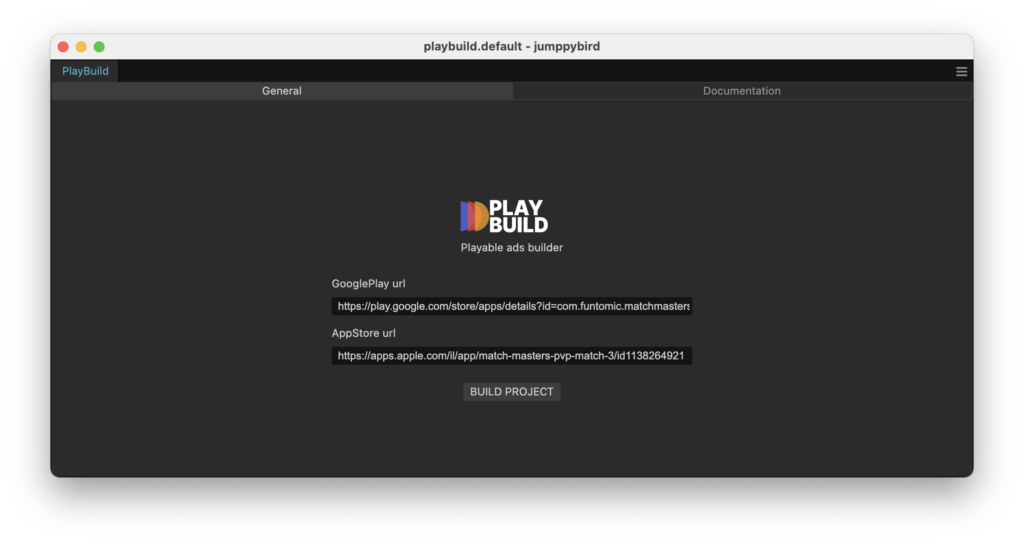
- In the top menu, navigate to Panels and look for the PlayBuild plugin panel.
- Open the PlayBuild panel.
- In the panel, add the URLs of the game you plan to build into playable ads. This configuration helps the plugin correctly integrate your game’s build with the plugin’s export functionality.

Hire playable developer
Tagged Documentation